
Futures Grid on Bitget—Mobile App Guide
[Estimated reading time: 5 minutes]
This guide explains how to use the futures grid trading feature on the Bitget mobile app. Futures grid is an automated trading tool that places buy and sell orders within a set price range, helping users capture opportunities from market fluctuations in futures trading.
What is futures grid?
Futures grid is a trading strategy that automates trading within a predefined price range, with upper and lower price limits. It systematically executes buy-low and sell-high strategies, making it suitable for trending and range-bound markets.
Futures grid types
-
Long grid: Buys low and sells high, designed for upward trends.
-
Short grid: Sells high and buys low, designed for downward trends.
-
Neutral grid: Alternates between buying low and selling high, ideal for range-bound or volatile markets.
Setup modes
-
AI futures grid: Automatically generates grid settings based on market analysis, suitable for beginners or users who want a faster setup.
-
Manual settings: Enables full customization of grid parameters, including price range, grid levels, and leverage. Recommended for experienced traders who want more control over their strategies.
Key benefits
-
Automation: Reduces the need for manual trading.
-
AI optimization: Uses market data to generate optimal grid parameters.
-
Customizability: Allows advanced traders to tailor strategies to specific market conditions.
How can I use the futures grid?
Step 1: Go to the trading section
1. From the bottom navigation bar, tap Trade.
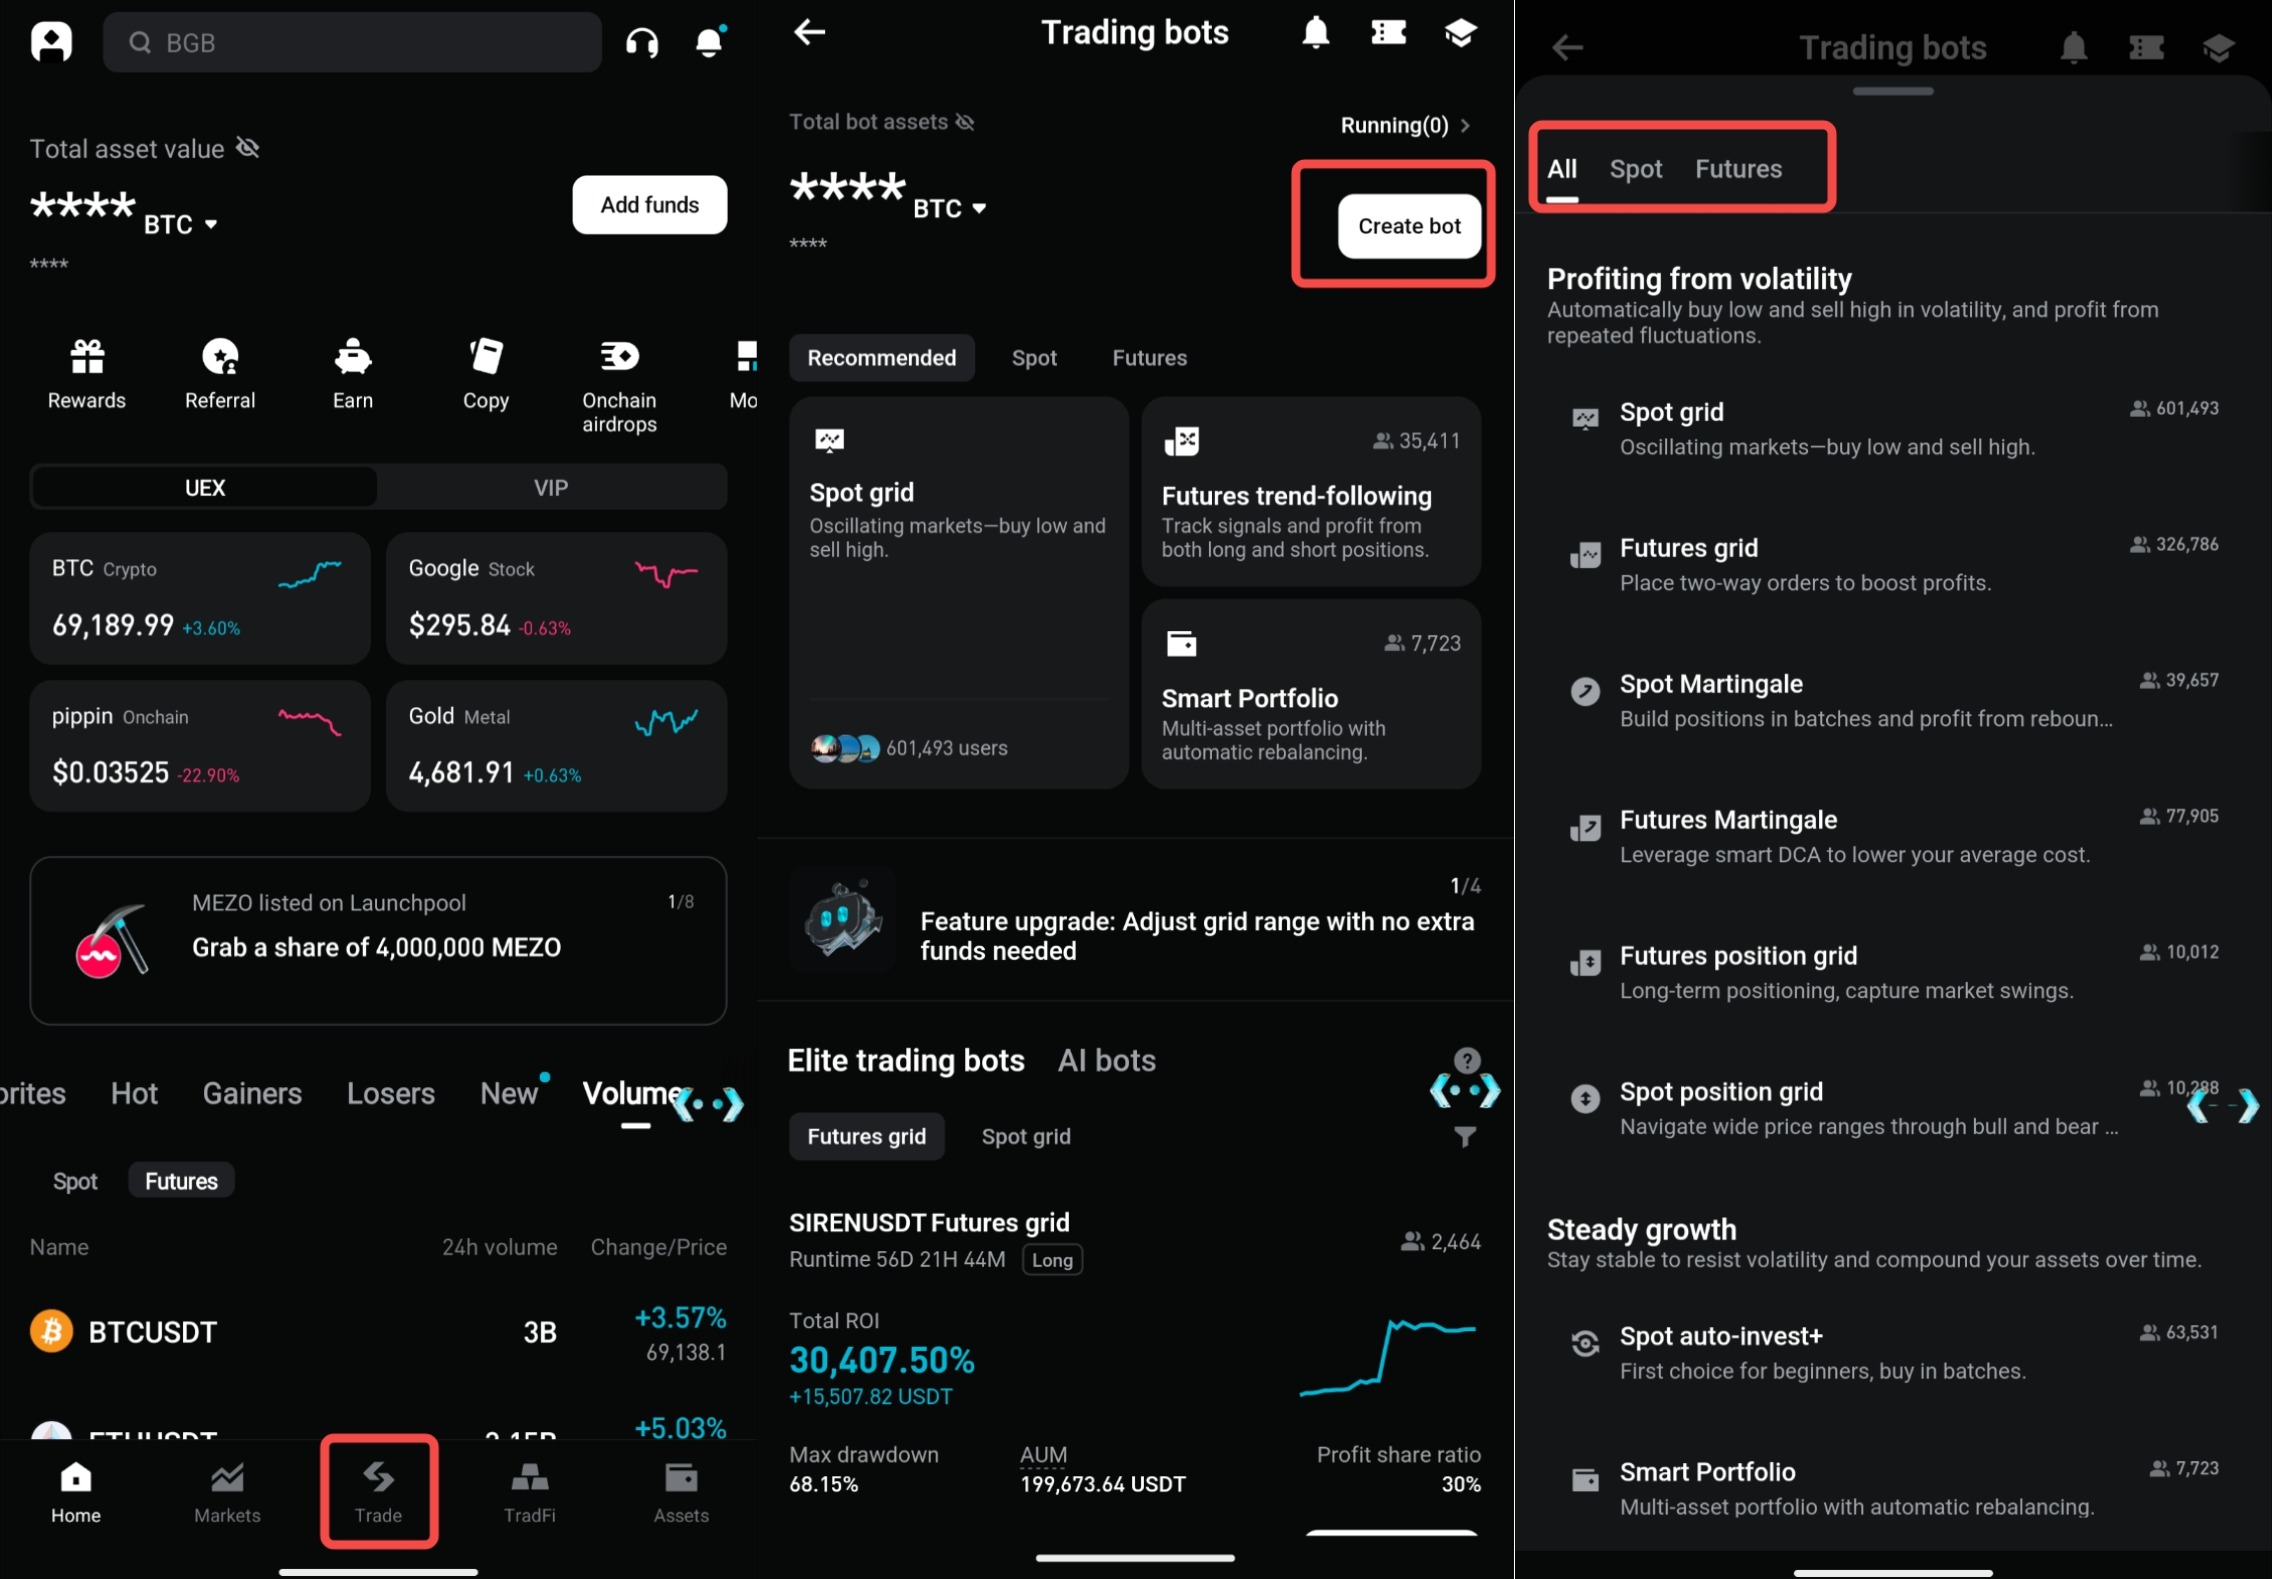
Step 2: Open the bot trading menu
1. Tap Create a Bot from the top of the Bots section.
2. Browse the available bots and select Futures Grid.
Step 3: Choose setup mode
1. AI futures grid:
-
Tap the AI button to let the system generate optimal grid parameters automatically.
2. Manual settings:
-
Select a grid type: Long, Short, or Neutral.
3. Enter custom parameters:
-
Upper and lower price limits: Set the price range in which the grid will run.
-
Number of grids: Set how many grid levels to use. More grids create smaller intervals and may result in more trades.
-
Leverage: Adjust leverage based on your risk tolerance.
Step 4: Allocate funds
1. Enter the total amount you want to allocate to the grid bot.
2. Ensure you have sufficient margin in your futures trading account to support your position.
Step 5: Review and confirm
1. Check all settings carefully, including the price range, number of grids, and leverage.
2. Tap Create Order to activate your futures grid trading bot.
Important notes
-
AI futures grid simplifies setup, but the suggested parameters may not always match your specific trading goals.
-
Manual settings require a solid understanding of market conditions and trading strategies.
-
Choose a grid type based on market conditions.
-
Keep additional funds available to help cover potential losses or liquidation risk during extreme price movements.
FAQ
1. What is the minimum investment amount for a futures grid?
The minimum amount varies depending on the trading pair and leverage. Check the trading interface for specific details.
2. Can I switch between AI and manual settings after creating a grid?
No. You must close the current grid and create a new one to change the setup mode.
3. What happens if the price moves outside the grid range?
No new orders will be executed until the price re-enters the defined range.
4. Are fees charged for each grid transaction?
Yes, standard futures transaction fees apply to each buy or sell order executed within the grid.
5. How do I avoid liquidation while using the futures grid?
Reserve sufficient funds as collateral and avoid over-leveraging your position to cover price fluctuations.
6. Why did grid expansion fail after adjusting the price range?
If the bot is running at a loss and your available margin is below zero, new grid orders can't be placed. Any added margin will first be used to reduce liquidation risk. To fix this, top up your margin before expanding the grid.
7. Where do my funds go after I stop the trading bot?
After the trading bot is terminated, all remaining funds will be automatically returned to the account that created the bot.
8. What happens if I set many grids within a narrow price range?
When you set a large number of grids within a narrow price range, the system activates interval matching to optimize your profits. It intelligently pairs buy and sell orders that are several grids apart, avoiding trades with price differences too small to cover fees. This helps maintain meaningful arbitrage opportunities—even when the market fluctuates within a tight range.
Yes. You can adjust the price range and number of grids while the trading bot is running. If the bot's remaining funds (including unrealized PnL) are insufficient for the minimum investment required under the adjusted parameters, you will need to add funds before the adjustment can be completed. Once the parameter adjustment is initiated, the grid will cancel all unfilled orders, rebalance the position, and reinitialize the grid.
Disclaimer and Risk Warning
All trading tutorials provided by Bitget are for educational purposes only and should not be considered financial advice. The strategies and examples shared are for illustrative purposes and may not reflect actual market conditions. Cryptocurrency trading involves significant risks, including the potential loss of your funds. Past performance does not guarantee future results. Always conduct thorough research and understand the risks involved. Bitget is not responsible for any trading decisions made by users.
Join Bitget, the world's leading crypto exchange and Web3 company


